
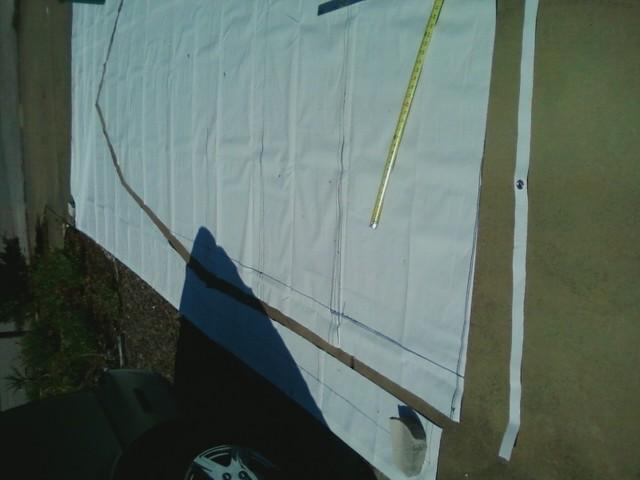
The plans for Featherwind allow for a Sunfish sail and also include a sail plan for a lanteen sail of different dimensions than the Sunfish sail. The Chinese junk rig sail is what really grabbed me though so I'm going to give it a try. I'm building my sail from plans for a 78 square foot junk rig sail found on Duckworks magazine website which is about the same square footage as the Sunfish sail. Since the junk rig sail is easily reefed, I added an extra panel at the bottom of the sail for a total sail area of 94 square feet so when the wind is very light I'll have some "extra" sail I can hoist. The photo shows the 16X10 or so white poly tarp that I cut my sail out of. In this photo the sail has been cut out and is surrounded by the left over tarp.

The sail plan calls for a dart to be sewn into the luff and leech for each batten. The luff is the side of the sail that is attached to the mast and the leech is the side of the sail opposite of the luff . The darts will give each panel, (the sail area between the battens), a concave shape and this is desirable as it improves performance over that of a flat sail. The final photo below shows a view of panels and battens. This photo attempts to show the darts drawn on the sail.

This photo is a close up of a couple of darts drawn on the sail. The horizontal line marks where the gurney flap will be located. The gurney flap is part of the sail that extends past the battens on the leech of the sail. It's five inches wide and tapers off to zero towards the upper part of the sail. The gurney flap is said to improve windward performance of the junk rig sail.

Once the sail is cut out and the darts are sewn in, one needs to sew nylon pac cloth to the leech and luff. Six hundred denier nylon pac cloth is a tough sturdy material and is what I used. I have to say thanks to my ma for doing the sewing for me on her sewing machine. The sail needs to have the pac cloth sewn to the leech and luff because when you hoist the sail the poly tarp alone wouldn't be able to take the stress from the weight of the battens. This photo shows pac cloth sewn onto the poly tarp. In the foreground is the top of the sail. On the right is the leech with pac cloth and on the left is the luff with pac cloth. The sail seems very sail like even though it's polytarp.

This photo shows a close up of a d ring. The D ring shown in the photo is sewn to the gurney flap in line with a batten. There is a D ring for each of the five lowest battens and a rope is attached to each D ring so the sail can be can be trimmed to different points of sail.

Now I have a sail with darts, pac cloth sewn on the luff and leech, and D rings attached to the gurney flap. Now I have to add the battens to the sail. The battens are attached to the sail in pairs by screwing the battens together with the sail sandwiched in between. This photo shows the wood pieces for the battens and yard right after I cut them from a larger piece of wood. I painted them the same chocolate color as the mast.

Finally I get to raise the sail and have a look.
 The plans for Featherwind allow for a Sunfish sail and also include a sail plan for a lanteen sail of different dimensions than the Sunfish sail. The Chinese junk rig sail is what really grabbed me though so I'm going to give it a try. I'm building my sail from plans for a 78 square foot junk rig sail found on Duckworks magazine website which is about the same square footage as the Sunfish sail. Since the junk rig sail is easily reefed, I added an extra panel at the bottom of the sail for a total sail area of 94 square feet so when the wind is very light I'll have some "extra" sail I can hoist. The photo shows the 16X10 or so white poly tarp that I cut my sail out of. In this photo the sail has been cut out and is surrounded by the left over tarp.
 The sail plan calls for a dart to be sewn into the luff and leech for each batten. The luff is the side of the sail that is attached to the mast and the leech is the side of the sail opposite of the luff . The darts will give each panel, (the sail area between the battens), a concave shape and this is desirable as it improves performance over that of a flat sail. The final photo below shows a view of panels and battens. This photo attempts to show the darts drawn on the sail.
 This photo is a close up of a couple of darts drawn on the sail. The horizontal line marks where the gurney flap will be located. The gurney flap is part of the sail that extends past the battens on the leech of the sail. It's five inches wide and tapers off to zero towards the upper part of the sail. The gurney flap is said to improve windward performance of the junk rig sail.
 Once the sail is cut out and the darts are sewn in, one needs to sew nylon pac cloth to the leech and luff. Six hundred denier nylon pac cloth is a tough sturdy material and is what I used. I have to say thanks to my ma for doing the sewing for me on her sewing machine. The sail needs to have the pac cloth sewn to the leech and luff because when you hoist the sail the poly tarp alone wouldn't be able to take the stress from the weight of the battens. This photo shows pac cloth sewn onto the poly tarp. In the foreground is the top of the sail. On the right is the leech with pac cloth and on the left is the luff with pac cloth. The sail seems very sail like even though it's polytarp.
 This photo shows a close up of a d ring. The D ring shown in the photo is sewn to the gurney flap in line with a batten. There is a D ring for each of the five lowest battens and a rope is attached to each D ring so the sail can be can be trimmed to different points of sail.
 Now I have a sail with darts, pac cloth sewn on the luff and leech, and D rings attached to the gurney flap. Now I have to add the battens to the sail. The battens are attached to the sail in pairs by screwing the battens together with the sail sandwiched in between. This photo shows the wood pieces for the battens and yard right after I cut them from a larger piece of wood. I painted them the same chocolate color as the mast.
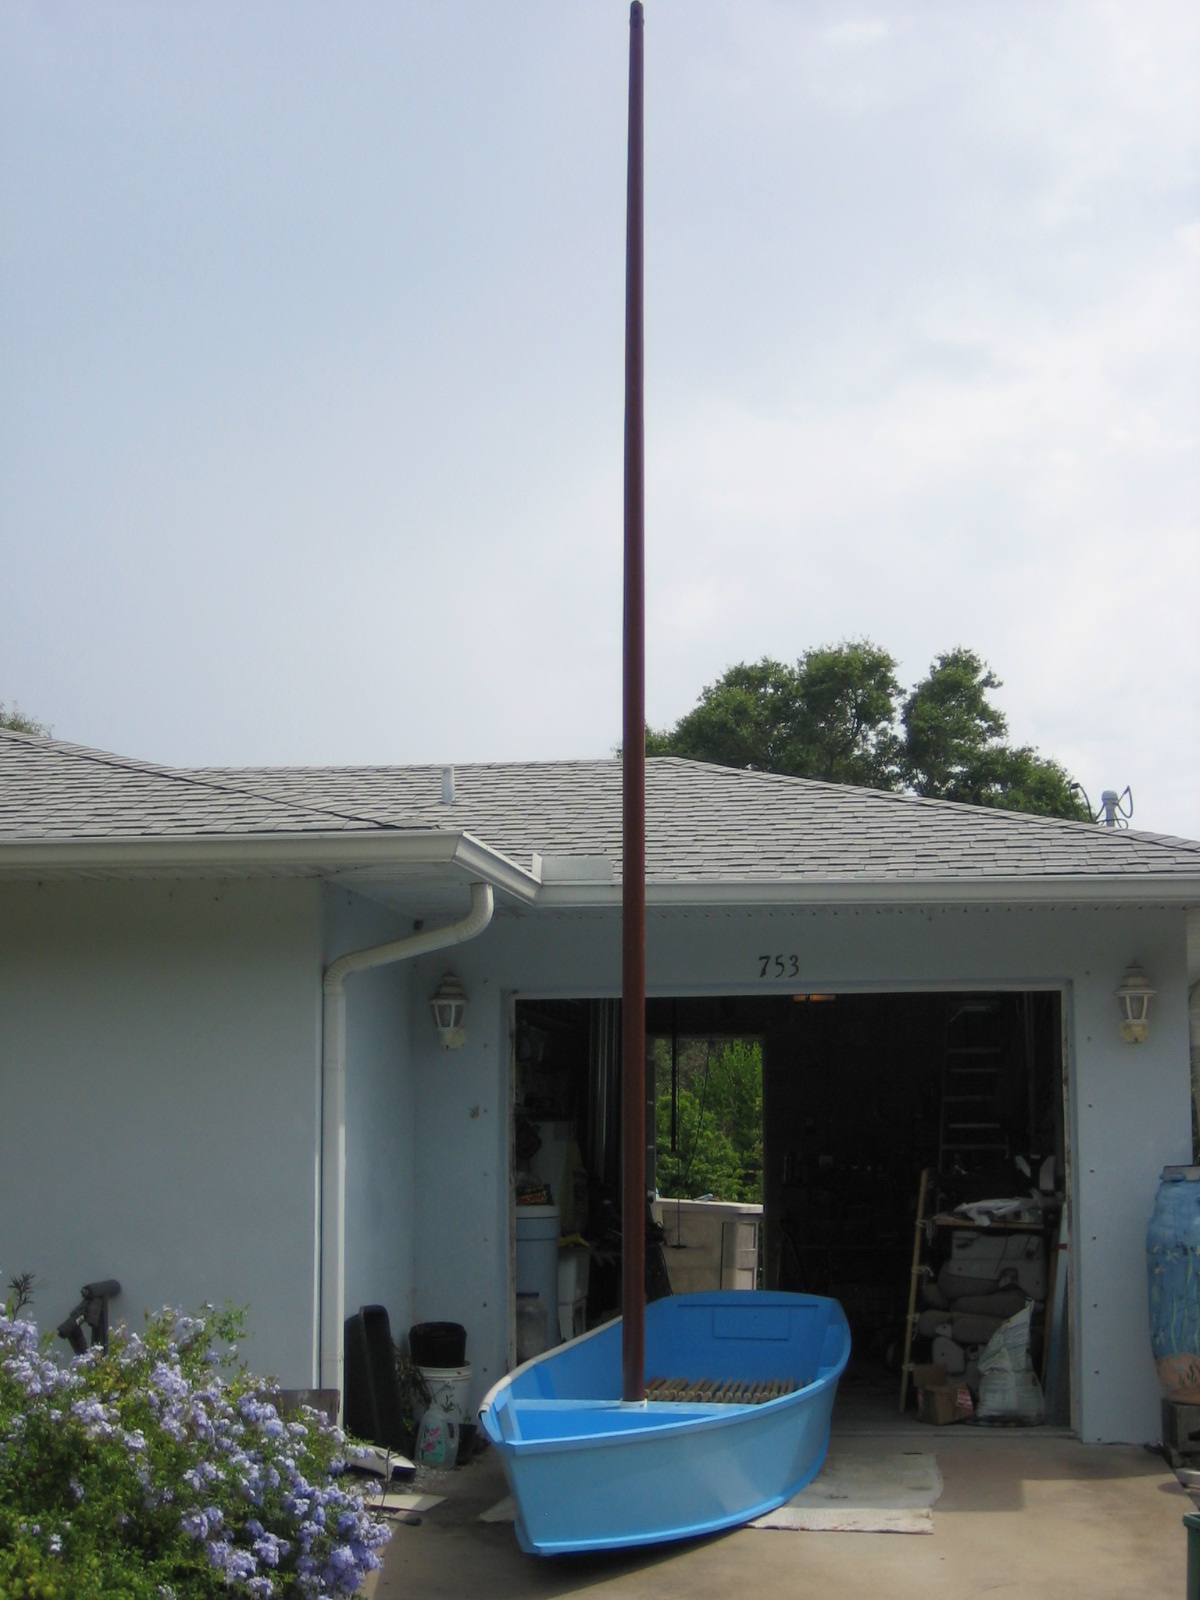
 Finally I get to raise the sail and have a look.


